Monday, May 31, 2010

Shaping Stands


With the deck glued on, I started building my shaping stands. This is a fun little side project. A word of caution about the Grain manual and the directions provided for them, there is scant little information other than the obvious - you will need wood, make sure the stands are stable and sturdy, and pad them. I guess the construction of these helpful little devices doesn't need a lot of explanation and it leaves room for creativity. I made the stands this afternoon and now I need to cement them in five gallon buckets and add the padding.

I had to order a spoke shave the other day. Why would I have to order one? There are two Home Depots, one Ace Hardware, and three specialty tool shops in town and none of them had a spoke shave. Most of them didn't even know what a spoke shave was. I'm waiting on that tool and then I can begin shaping the rails.

Adhering the Deck


I glued the deck on the other day. I made at least one small error that I detected a little too late. I didn't quite have the center line of the deck matched up with the keel. It's off about a 1/2 inch near the tail but eventually gets corrected by the the nose. I can definitely see the misalignment, especially with the book-matched knots on the deck that are located near the rail. The knots on one side will be closer to the rail than the other side. Fortunately, the wax on the deck will obscure it a little and I won't have to think about it every time I see it.

I was a little anxious about gluing the deck, for fear that it might crack. I live in the high desert and there is almost no humidity. The deck had been sitting out for over a year and I'm sure it was extremely dry and perhaps even brittle. I thought of an idea to reconstitute the moisture in the deck. I brought the board into one of the bathrooms, along with a pot of water and a camp stove. I boiled the water and created a steam room, letting the board sit in there for about four hours. I took the deck out of the makeshift steam room and glued it on. Other than the aforementioned mishap, the deck looks great and cracked ever so slightly in only one location. An easy fix with Titebond and saw dust.

Everyone talks about the number of clamps required for this project, and they always sound like they are exaggerating. They're not. I used 80 clamps when gluing on the deck! Sixty three inch clamps, 20 two inch clamps and 15 slats on the rocker table. I could have probably used more clamps.

Progress at last


It's been a little while since I posted any new developments. Namely because there haven't been any new developments, at least with the building of the board. That's not entirely true and I'll share a couple of small updates in a moment.

This spring we had a baby boy on March 15. His name is Charlie. At his eight week check-up, his pediatrician heard an unusual sound in his heart. We went to see a pediatric cardiologist later that day and we discovered that Charlie has several heart defects - an enlarged heart (left ventrical), stenosis of the aorta, and a small hole. We were life flighted down to St. Joseph's Hospital in Phoenix later that evening, and two days later, Charlie had coarctation surgery to correct the narrowing (stenosis) of his aorta. The other issues with his heart seem to be related to the stenosis of his aorta, and we're crossing our fingers that they will correct themselves.

That experience kind of put my life in perspective.

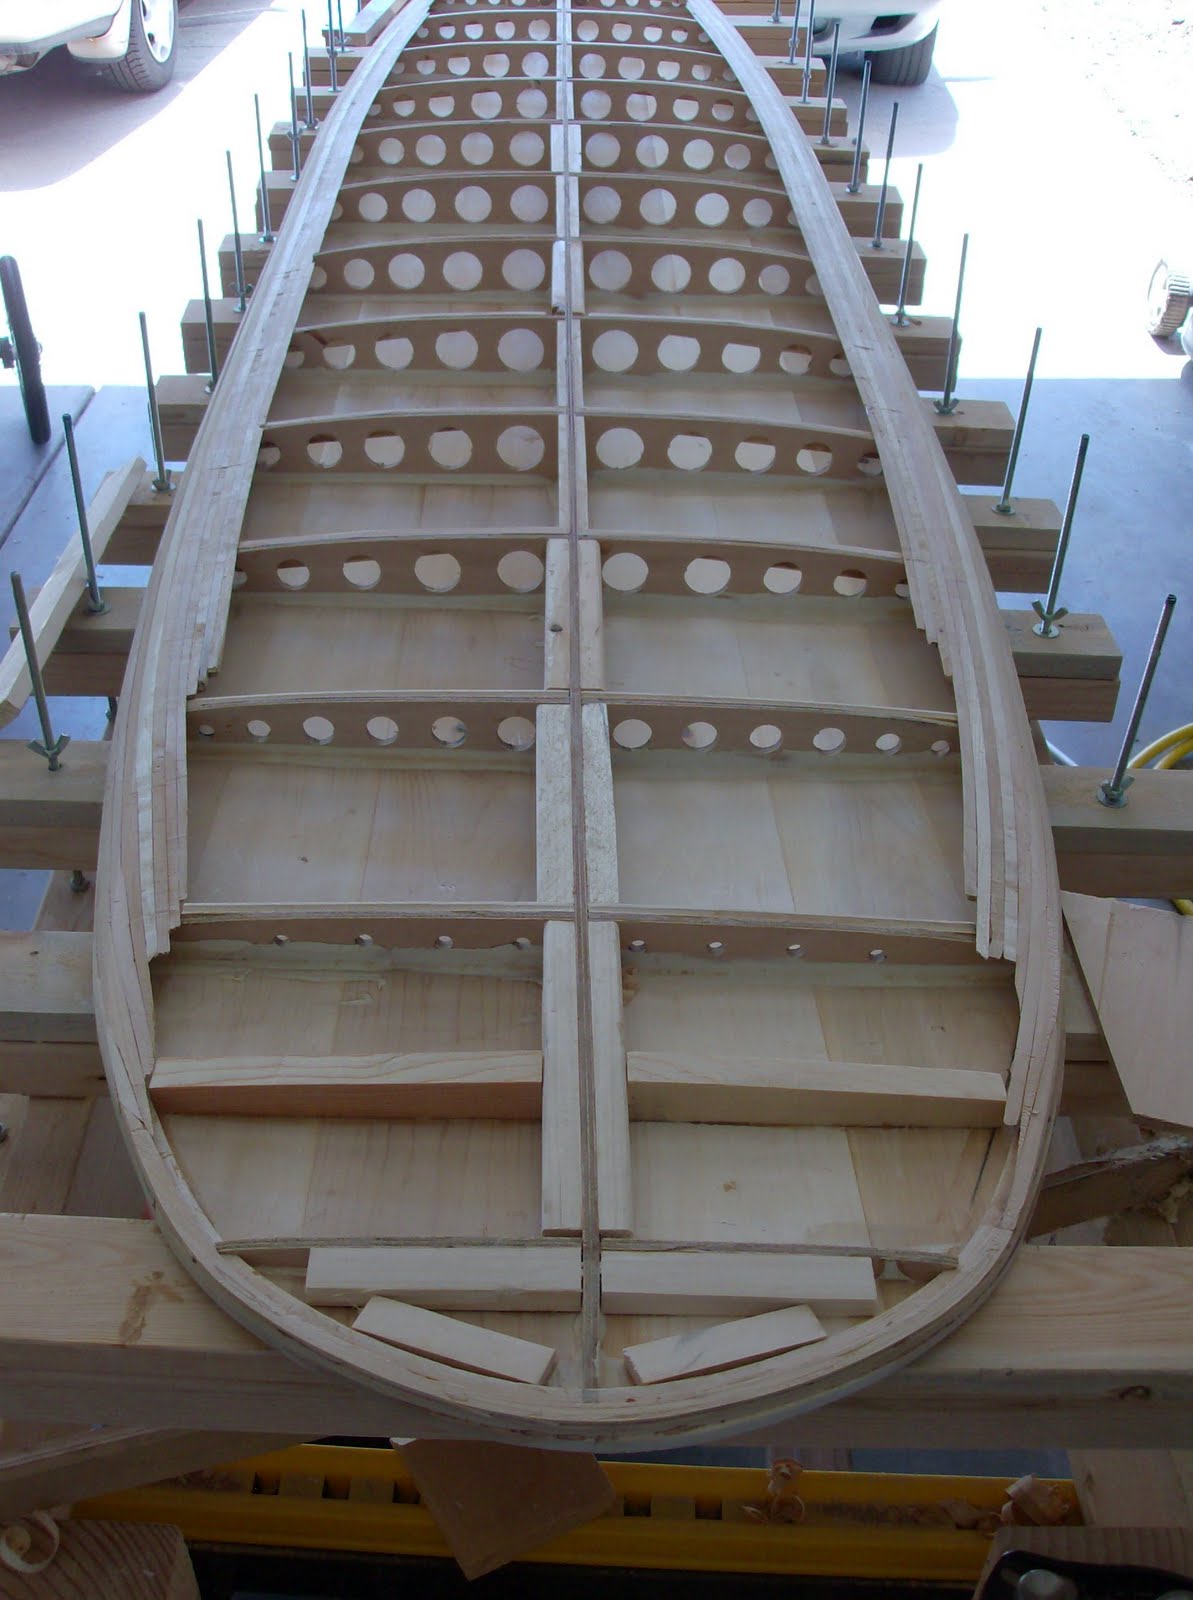
Even with all the excitement, I managed to some minor progress with the board. I planed the tops of the bead and cove strips to create a flat landing surface for the deck. I'm not sure I did a very good job of it, but the strips were getting paper thin and I didn't want to risk planing them any further. I was concerned that there wasn't going to be enough surface area for adhering the deck. I attempted to amend this situation by gluing small pieces of wood along the ribs to create more internal surface area along the ribs and keel. I'm sure it increased the weight of the board, but that's okay if it keeps the deck secure. I also added blocking for the fin. I'm still not sure if I'm going to use the fin box included with the kit or just glass on a D fin.

That's all for now.