Monday, July 5, 2010

Rhinoplasty...?


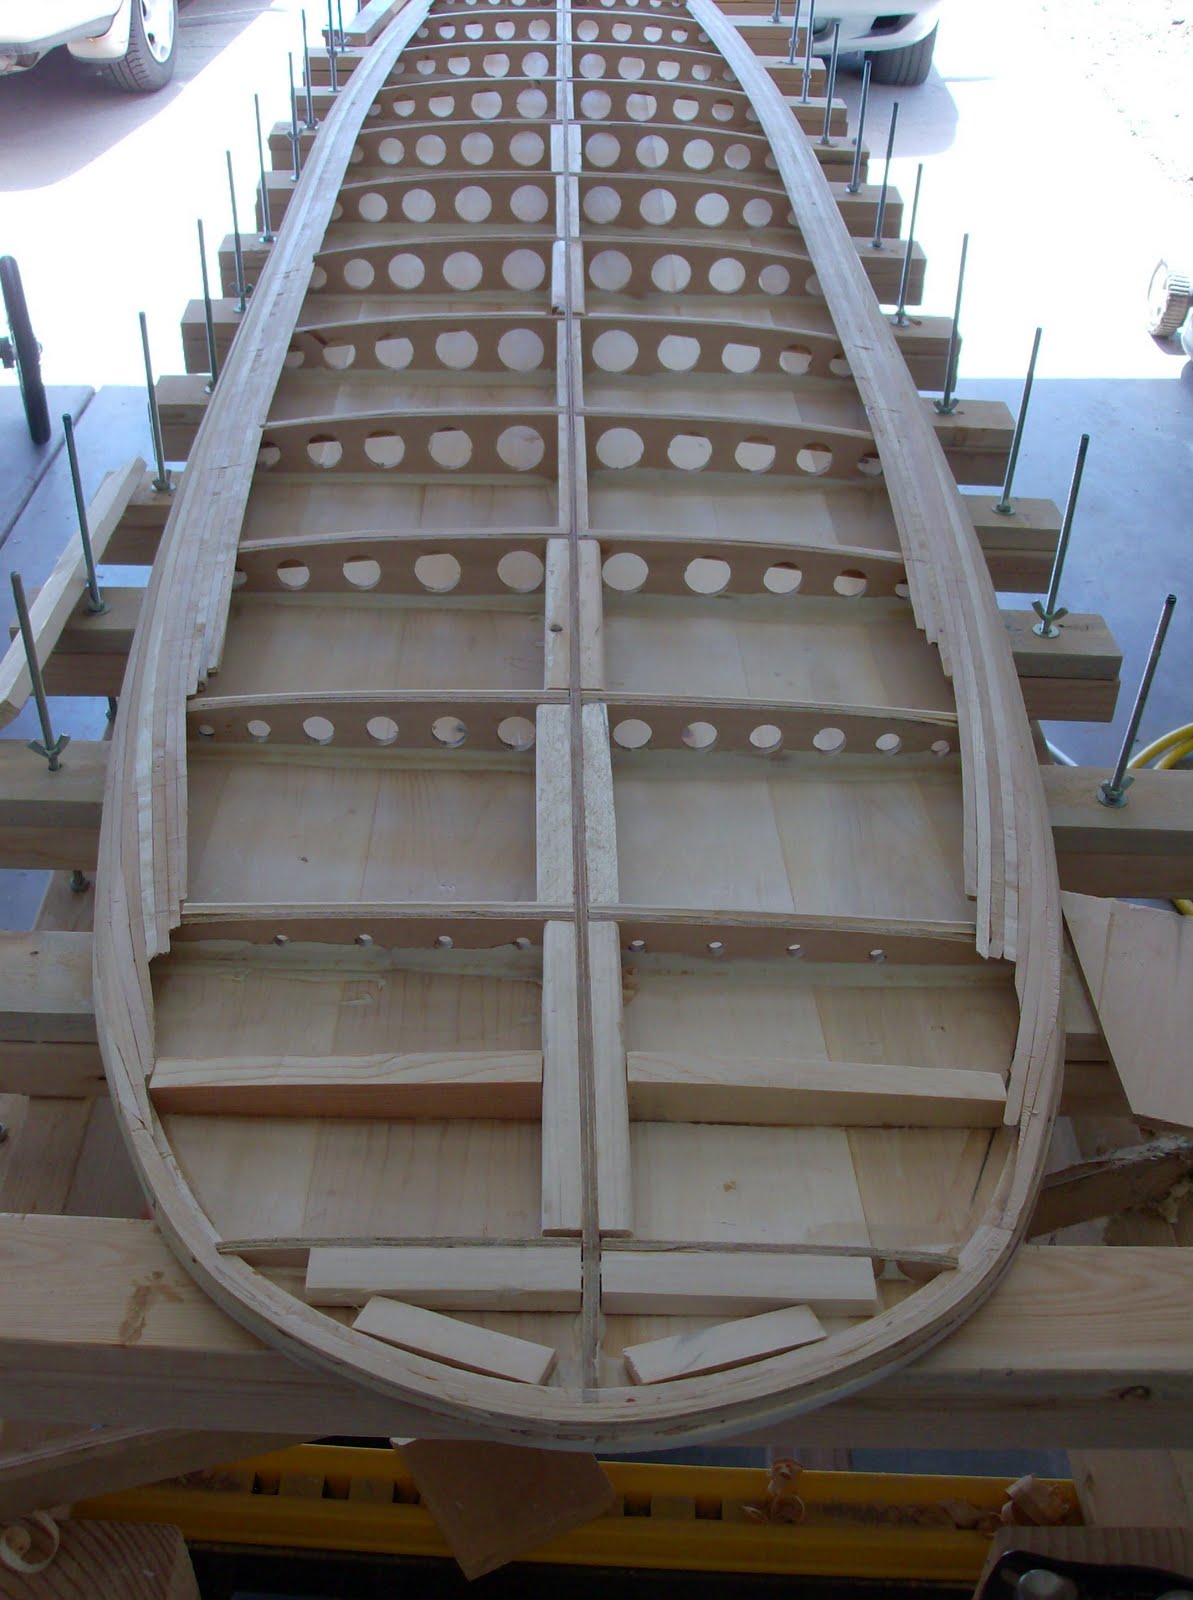
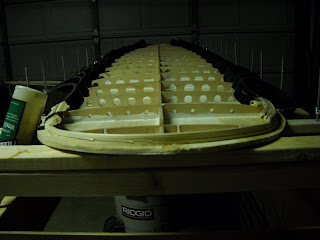
I was fine sanding the board in preparation for glassing and I noticed that part of the nose is dangerously thin. It's so thin in fact, that I can see the Titebond and part of the starter strip. I'm at a crossroads here, trying to decide whether I should just leave it as is and just glass it or remove the thinned area and replace it with a nose block. The tape in the images is the outline of where I would cut the nose to add a nose block. I'm leaning toward leaving the thinned area and glassing it, but I'm concerned that it will affect the structural integrity and possibly be prone to leaking. I've emailed Mike at Grain seeking advice and will wait until I hear back from him before proceeding.

Sunday, July 4, 2010

Tail Block, Rail Shaping and Sanding


Once again, it's been a while since I last posted an update. Since the last post, I completed the shaping stands, attached the tail block, shaped the rails and began sanding in preparation for glassing.

Attaching the tail block required a few attempts. First, I made a clean, straight cut across the tail section. Then I made a small, three layer tail block, consisting of walnut and cedar. Initially I tried to use some of the many clamps I have accumulated with this project. None seemed to work very well. I decided to try using blue tape instead of clamps and it worked great, much better than I initially thought. After 24 hours under tape, I was able to shape the tail block and there was never any indication that the tail block was not absolutely adhered to the board.

Shaping the rails seemed easier than I thought, which may indicate that I did it incorrectly. I used a block plane and sanding block. I moved slowly and tried not to take off too much wood during the process. The only place where I had trouble was the nose, where I sanded too much and exposed a small amount of Titebond III.

In retrospect, I should have worked more gingerly while I was adhering the bead and cove strips for the rails. There are some small gaps and areas where Titebond is exposed. I hesitate to sand off all the Titebond because the rails already seem thin. I also fear that it would change the symmetry (what little there is) of the rails.

I sanded the deck and bottom as well as the rails with 80 grit sandpaper. I just started sanding with 150 grit to remove the small scratch marks left by the 80 grit. There are a few areas where there deeper impressions in the wood from the block plane pulling the wood that I fear the sanding won't remedy.

I see quite a few small (and not so small) imperfections in my work, but I suppose that's part of the learning process. In the background of some of the images, a Sapling can be seen on the rocker table.

Monday, May 31, 2010

Shaping Stands


With the deck glued on, I started building my shaping stands. This is a fun little side project. A word of caution about the Grain manual and the directions provided for them, there is scant little information other than the obvious - you will need wood, make sure the stands are stable and sturdy, and pad them. I guess the construction of these helpful little devices doesn't need a lot of explanation and it leaves room for creativity. I made the stands this afternoon and now I need to cement them in five gallon buckets and add the padding.

I had to order a spoke shave the other day. Why would I have to order one? There are two Home Depots, one Ace Hardware, and three specialty tool shops in town and none of them had a spoke shave. Most of them didn't even know what a spoke shave was. I'm waiting on that tool and then I can begin shaping the rails.

Adhering the Deck


I glued the deck on the other day. I made at least one small error that I detected a little too late. I didn't quite have the center line of the deck matched up with the keel. It's off about a 1/2 inch near the tail but eventually gets corrected by the the nose. I can definitely see the misalignment, especially with the book-matched knots on the deck that are located near the rail. The knots on one side will be closer to the rail than the other side. Fortunately, the wax on the deck will obscure it a little and I won't have to think about it every time I see it.

I was a little anxious about gluing the deck, for fear that it might crack. I live in the high desert and there is almost no humidity. The deck had been sitting out for over a year and I'm sure it was extremely dry and perhaps even brittle. I thought of an idea to reconstitute the moisture in the deck. I brought the board into one of the bathrooms, along with a pot of water and a camp stove. I boiled the water and created a steam room, letting the board sit in there for about four hours. I took the deck out of the makeshift steam room and glued it on. Other than the aforementioned mishap, the deck looks great and cracked ever so slightly in only one location. An easy fix with Titebond and saw dust.

Everyone talks about the number of clamps required for this project, and they always sound like they are exaggerating. They're not. I used 80 clamps when gluing on the deck! Sixty three inch clamps, 20 two inch clamps and 15 slats on the rocker table. I could have probably used more clamps.

Progress at last


It's been a little while since I posted any new developments. Namely because there haven't been any new developments, at least with the building of the board. That's not entirely true and I'll share a couple of small updates in a moment.

This spring we had a baby boy on March 15. His name is Charlie. At his eight week check-up, his pediatrician heard an unusual sound in his heart. We went to see a pediatric cardiologist later that day and we discovered that Charlie has several heart defects - an enlarged heart (left ventrical), stenosis of the aorta, and a small hole. We were life flighted down to St. Joseph's Hospital in Phoenix later that evening, and two days later, Charlie had coarctation surgery to correct the narrowing (stenosis) of his aorta. The other issues with his heart seem to be related to the stenosis of his aorta, and we're crossing our fingers that they will correct themselves.

That experience kind of put my life in perspective.

Even with all the excitement, I managed to some minor progress with the board. I planed the tops of the bead and cove strips to create a flat landing surface for the deck. I'm not sure I did a very good job of it, but the strips were getting paper thin and I didn't want to risk planing them any further. I was concerned that there wasn't going to be enough surface area for adhering the deck. I attempted to amend this situation by gluing small pieces of wood along the ribs to create more internal surface area along the ribs and keel. I'm sure it increased the weight of the board, but that's okay if it keeps the deck secure. I also added blocking for the fin. I'm still not sure if I'm going to use the fin box included with the kit or just glass on a D fin.

That's all for now.

Sunday, October 18, 2009

Bead and Cove Strips


After a nearly three month respite, I'm back to building the Waterlog. When I left off, I had just completed adhering the chine log and one or two of the bead and cove strips. I've since glued about six or seven additional bead and cove strips and it's starting to look more like a surfboard. The PVC clamps come into their own just as the 2" clamps can longer get around the strips.

All was going well until I noticed that there are about three frames on the left hand side where the bead and cove strips are not quite in contact with the frames. There is probably a 1/16" gap at the middle frame, but less on the two contiguous frames. This is the case with only about two bead and cove strips, then there is continuous contact with all them. I'm concerned that section of the rail will not be "fair," which the directions ominously warn not to let happen. It did, and now I'm going to have to deal with it. I thought squeezing that section of the rail closer to the frames might work. I was able to squeeze it closer; unfortunately, I stressed the entire section of the rail doing so. Later, when I was wiggling the next bead and cove strip on that section of the rail, twelve inches of the rail lifted off the starter rail. Oops. I quickly re-glued that section and clamped it down. I'm going to have to try some other solution. Maybe sanding it "fair" when I'm shaping the rails will work. In the meantime, I'm wondering if I should reinforce that section from the interior sided of the rail. Perhaps with some addition Tite Bound.

I desperately need to pick up the pace of this project, as the leaves are falling and the temperatures are beginning to drop. I doubt that I should be glassing the board in the garage when it gets too cold. It has also been made clear that the cars get first priority in the garage as soon as the first snow arrives. Besides, I want to start surfing on this new water craft.

Above are a few pictures of the Waterlog as the bead and cove rails are being adhered. Sorry, no images of the rail section separating from the board.

Quick update...I emailed Mike L, explaining the gap issue and here's his response: If there are gaps, but you're already well above those points with your railing, just mix up some thickened epoxy with sawdust and smear it in the those areas on either side of the frame(s). The will just support the strips and keep the board a little stronger in those areas. If you are still railing, and some of the frames are pulled away enough where it is hard to keep the shape with the rail strips, you might cut some little shims from scrap cedar to push into the gap. This will give the strips something to land on i those areas. Little by little, you want to come back to the frames so that the get gap gets progressively smaller. This is the best way to keep the rail shape as true as possible.

I'm going to use the epoxy and saw dust solution, as the gaps aren't very large. Within two bead and cove strips, they're laying nicely on the frames again. I don't think this will be a huge issue in the long run.

Saturday, July 25, 2009

Chine log and starter rail

After a one month hiatus, I finally glued the chine log and starter rail to the board. Not much to report here other than steaming each in order to bend them around the nose was easier than I thought. The cedar becomes very pliable after just a short time under steam. 

Next step will be to start building up the rails.